
Learning to draw kolam can feel scary when you watch an expert. Their fingers move smoothly, the powder falls evenly, and a beautiful pattern appears as if the hand already knows the path. But every expert began with uneven dots, broken lines, and designs that did not look perfect. Kolam is learned by doing.
For beginners, the best way is to start small. You do not need a huge courtyard, expensive colours, or complicated festival designs. A notebook, chalk, rice flour, or simple kolam powder is enough. The goal is to understand dots, lines, curves, symmetry, and rhythm.
What you need
If you are practising indoors, use a notebook, pencil, or whiteboard first. If you are practising on the floor, use rice flour, kolam powder, chalk powder, or a washable material suitable for the surface. Avoid slippery materials in walking areas, and do not use anything that stains shared spaces.
A small bowl helps if you are using powder. Traditional kolam is often drawn by holding powder between the fingers and letting it fall in a controlled line. This takes practice. Beginners can first draw with chalk and later try powder.
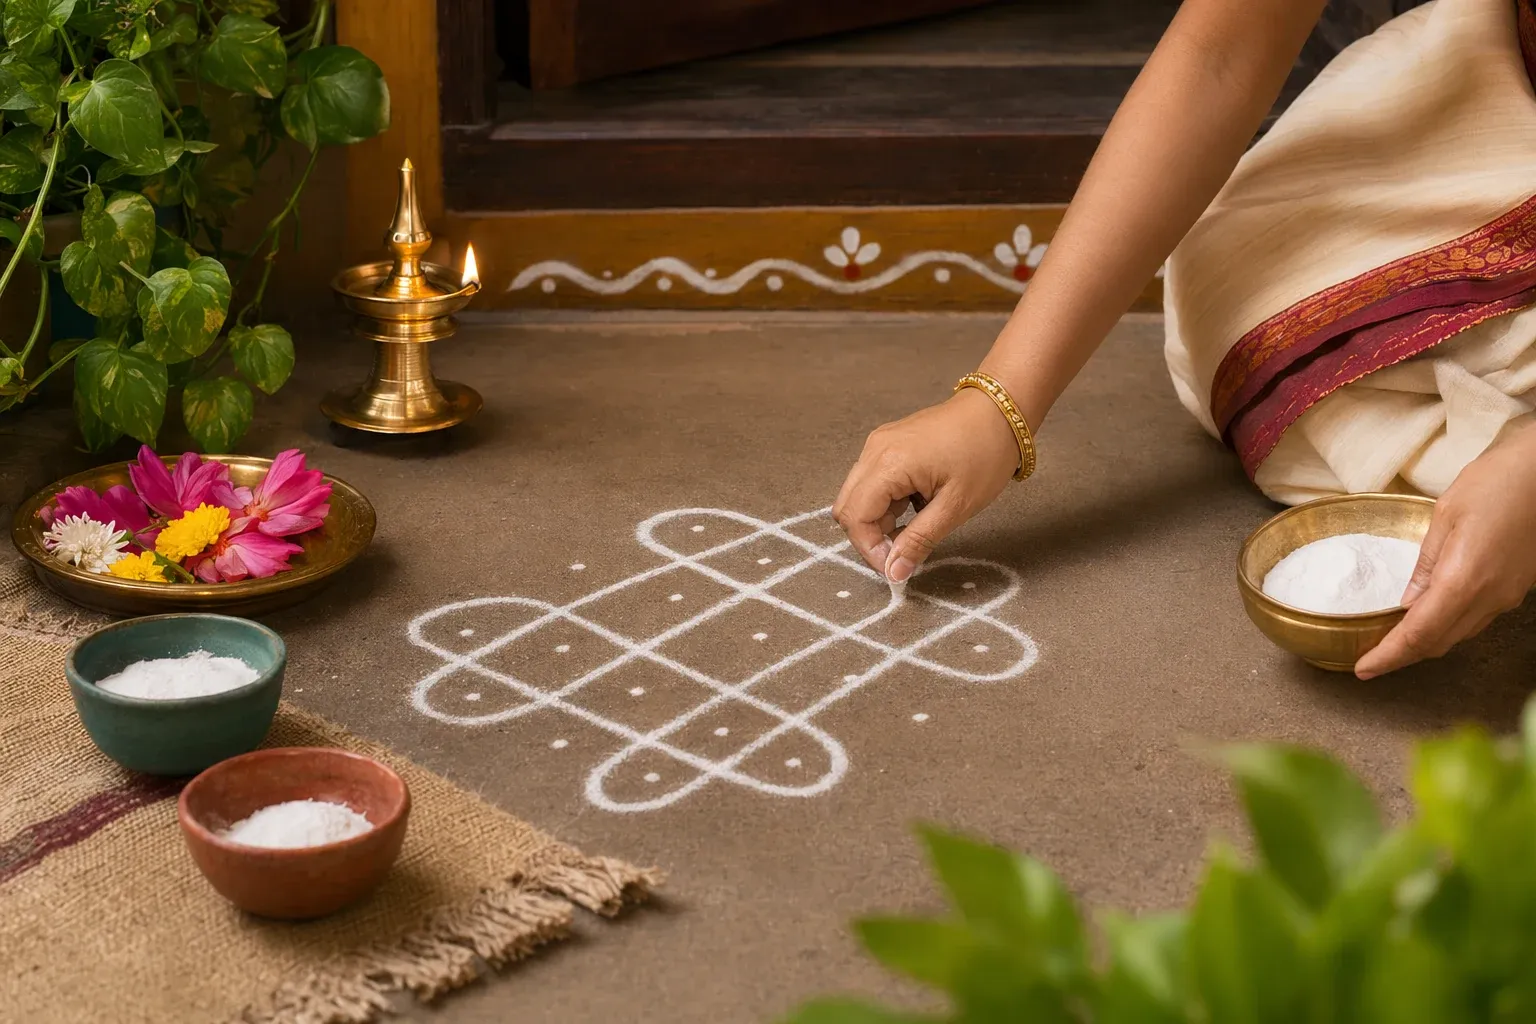
Start with dots
Many kolams begin with a dot grid. Start with a simple pattern: three dots in a row, then another three below, making a 3 by 3 square. You can draw lines around the dots, connect them, or make small loops. Once that feels easy, try 4 by 4 or 5 by 5.
Do not rush into complex designs. A neat small kolam is better than a large confused one. The eye learns symmetry slowly. The hand learns pressure slowly. Give both time.
Your first simple pattern
Try this easy practice. Make four dots like a square. Draw a curved line around each dot so the lines form a small flower-like shape. Then add a border line around the outside. You have made a tiny kolam. It may look simple, but it teaches spacing, curves, and balance.
Next, try a 3 by 3 dot grid. Draw loops around the corner dots and connect the middle dots with gentle curves. If the line breaks, continue. Kolam is forgiving. You can correct, repeat, or simply learn from that attempt and make another one tomorrow.
Tradition, interpretation, and historical context
In tradition, kolam is often learned by watching elders at home. A child may first observe, then place dots, then fill small lines, and slowly learn full designs. The practice carries family memory as much as artistic technique.
In interpretation, drawing kolam trains attention. You must look at spacing, direction, and balance. It is a small exercise in patience. A restless mind wants to finish quickly; kolam asks the hand to move with care.
Historically, kolam patterns have been passed through daily practice, oral teaching, notebooks, community memory, and now videos and digital images. Modern learning is useful, but it is respectful to remember that these designs come from living households and regional traditions.
Common beginner mistakes
The first mistake is making the design too big too soon. Start small. The second is placing dots unevenly. If the dots are uneven, the whole pattern becomes harder. The third is using too much powder at once. A thin, steady line is easier to control.
Another mistake is copying without understanding. Before trying a design, trace its path with your finger in the air. Notice where the line starts, turns, crosses, and ends. This makes drawing much easier.
A simple practice plan
For one week, practise for ten minutes a day. Day one: straight lines. Day two: curves. Day three: 3 by 3 dot grids. Day four: small loops. Day five: a flower shape. Day six: a border. Day seven: repeat your favourite design neatly.
By the end of a week, you may not be perfect, but your hand will feel more confident. That confidence is the beginning. Kolam is not about showing off immediately; it is about returning to the pattern until the movement becomes natural.
Learning with respect
If you learn from a video or an elder, remember the cultural meaning. Kolam is not just aesthetic content. It belongs to homes, festivals, thresholds, and memories. Use it with respect, especially when drawing near sacred spaces or adapting traditional motifs.
The best first kolam is not the most complicated one. It is the one you actually draw with patience. Start with a few dots, a steady hand, and a willingness to try again. That is how the doorway into this beautiful art opens.
How to improve your hand control
If you are using powder, practise releasing it in a straight line for one full minute. Hold a small pinch between your fingers, move your hand slowly, and let the powder fall evenly. Do this on newspaper or a washable surface. Then practise circles and curves. These basic movements make real designs much easier.
If powder feels difficult, do not feel guilty about starting with pencil or chalk. The purpose of early practice is to understand movement. Once your eye and hand become comfortable, the traditional powder method will feel less mysterious.
How to choose beginner designs
Choose designs with clear dot counts and few crossings. A pattern with 3 by 3 or 4 by 4 dots is ideal. Avoid very dense festival designs at first because they can make you frustrated. Save them as inspiration, not as your first test.
Also repeat the same design several times. Repetition is not boring in kolam; it is the teacher. Each attempt improves spacing, confidence, and flow. The hand remembers what the mind keeps practising.